Showing posts with label Pinned It. Did it.. Show all posts

Sunday, March 10, 2013

Feeling Lucky?

St. Patricks Day is one week. I'm too excited.

I've been working on lesson plans for my pre-k class.
Finding cute green inspired outfits.
And planning some yummy treats to make (obviously)
So, of courrrrssseeeee.
I'm compulsively browsing pinterest.

Thought I'd share my favorite finds.
p.s I feel like most holiday things I like are food, and I'm not sorry about it.


(i can't even find the original source..if you know? let me know!)


xo, rach

happy sunday.

Wednesday, October 3, 2012

Me, the wall, and 6 rolls of washi tape. p.s. my giveaway.

My apartment. Looks like an apartment.
I really wanted to make it look so homey,
decorating, its among my favorite things to do.

So I found this via pinterest.
and decided to put a spin on it.
I used some floral and striped washi (craft) tape by recollection, that I bought at michaels!
(i literally can't find any online, but they have tons at michaels)

Here's before....


 and here's after :)
It was so easy.
All I did was stretch the tape from one end of the wall to the other,
and measure 10 inches in between each stripe. :)


I'm thoroughly excited about it :)
although.....I know it's meant for paper crafts, so occasionally the edges would come off a little. 
To get the edges to stay I used a glue stick?
Something that would hold well enough to keep it on, but weak enough we could take it off. 
Other than that I'm sooooo happy with the outcome!! 

GIVEAWAY? It ends tonight, so don't forget to enter. Thanks for all of you who have entered!! :)
Don't forget to be a follower of my blog and The Diary Of A Joshua Tree!!


xo, rach

Monday, September 3, 2012

3 things

1. Do you guys remember my fonts post? well it blew up via pinterest.
so thank you. like seriously. im a happy camper.

2. To show my appreciation I thoroughly want to do a giveaway.
I just need to work out all the details BUT.....
if you want to do a giveaway with me too? (which we all know you want to)
email me at sincerelypeachyblog@gmail.com

3. This song. Ben (the best friend/music guru) showed it to me.
I like it way too much.
Feel Again- One Republic

Again, thank you for all the pinning and what not. 
I hope to hear from some of you about a giveaway.
and I hope you love this song as much as I do. 
HAPPY LABOR DAY

xo, rach

Monday, August 27, 2012

Today's Monday.

Most friends are starting school..but I'm not.
I'm just trying to make a million dollars so I can go to school.
But watching everyone else start school is getting me in the autumn mood.

i love dia frampton.
(the hipster me listened to her band meg&dia in middle school)
you may know her from the first season of the voice!

We're going to be friends- Dia Frampton


this song is fall. and my autumn mood led me to make this.
like it? i hope so!
im planning on making some freebies like this for now through the year.
let me know what you think!!!

enjoy your monday.

xo, rach


Thursday, July 5, 2012

Peter Pan Collar DIY

I'm not a very fashion forward person. 
I find I catch onto trends after they've been around for a while...
hence my new obsession with peter pan collar's.
I think they are too adorable, and I find them way easy to make.
(I've made like 5 no big deal.)

I thought I'd share with you my new favorite craft! I've been making 2 kinds? A basic one..takes about 7 minutes tops. And a sequin one, which takes about 20-30 minutes, but it's too easy! 

Basic Peter Pan Collar
What you need?
A pattern ( i got mine from honestly wtf and cut around the scallops)
A piece of felt
Scissors
Ribbon
Hot glue (i pictured fabric glue..then changed my mind)
and a button

1. Lay down your pattern and cut out the 2 sides to your collar.

2. Hot glue your button to your pieces of felt
(to hold them together, and to be cutesy. )

3. Cut a small slit in each side of your peter pan collar and feed the ribbon through.
tie it in a knot, for extra reinforcement, and glue it down to the back of the collar.
(i missed some pictures..sorry!)
I used one piece of ribbon and did this to the other side, then cut the ribbon in half.
I used a rather long piece of ribbon too, so that I can adjust the length to fit whatever shirt i'm wearing!

AND YOUR DONE!


Sequin Peter Pan Collar
What you need?
Same things as before
and a spool of sewn sequins!
(I got mine at Hobby Lobby for like 2.00$ and only needed 1 to finish this collar.)

1. After you've cut out your pattern I just would put down an inch or two of hot glue
and lay down the string of sequins.
(I left a bit of felt un-sequined, so I could attach the ribbon)

2. Glue, and glue, and glue then do the other side!
I found the string of sequins were very flexible, I never had to cut the string, it would just fold over!

AND YOU'RE DONE!

I hope you can understand that all! I'm still no tutorial expert!
but I hope more you make one! They're way great!
Let me know what you think and what you come up with! :)

xo, rach


Saturday, May 19, 2012

put it in a jar.

Sometimes I just need to bake something scrumptious. Today was one of those times. 
I really was just craving something super sweet that would also give me my craft fix. 
I decided upon layer cake in mason jars.
I've seen it many a times via pinterest and have been too excited to finally try it. 

chocolate cake, chocolate pudding, whip cream, cookie crumbs, caramel sauce, and sprinkles.


To package it up for a friend I put saran-wrap under the lid and twisted it on, then added a ribbon of crepe paper for a more "finished" look. 


I highly reccomend making these. You're taste bud's wouldn't be mad at all.

xo, rach

p.s. if you have any questions on things I used? Don't hesitate to ask.
p.p.s. don't hesitate to follow me either. :)

Wednesday, May 16, 2012

Thrifty NIfty Wednesday: Suitcases please.

They're not practical. They are old and broken. But being a photographer they make great photo props.
Three vintage suitcases coming to the total of 14$. Me and Ben recently used them in a missionary photo shoot (fun huh?)

Here are some picture's to show you how lovely they (and carly) are!


(i know this one doesn't have suitcases, but its stunning right)


I'm thinking about getting some more and making a suitcase night like such
..either way they are just too fun!

xo, rach

Saturday, May 12, 2012

consider me inspired: metal bed frames.

i'm currently in the process of deciding whether or not to move or to..well, not.
either way, i'm planning on decorating a room that I'm in love with.
right now I can't get move past beds with metal frames.

I'll show you.


They are wonderfully simple.
and I'm in love with all of them.
that's all.

xo, rach


Thursday, May 3, 2012

Ombre rose cupcakes DIY

Ombre Rose Cupcakes DIY

Baking. I love it. I don't do it as much as I would like though. but when my brother gave me a rose bud cake pan I couldn't just not bake some delicious treats right away. And let me tell you, they were soooo delicious. 

I used the vanilla letter cupcake recipe via Martha Stewart. It was one of the most delicious recipe's I have ever used. I did however add my own little twist with it..I've been obsessed with doing ombre crafts..and while a large majority have not turned out yet, these one's did. :) 

Ingredients
3 cups all-purpose flower
  • 1 1/2 teaspoons baking powder
  • 3/4 teaspoon salt
  • 1 1/2 sticks (12 tablespoons) unsalted butter softened
  • 1 1/2 cups sugar
  • 4 large eggs
  • 2 teaspoons vanilla extract
  • 1 1/4 cups milk


Directions
1. Preheat oven to 350 degrees. Line a standard 12-cup muffin tin with paper liners; set aside. Whisk together flour, baking powder, and salt in a medium bowl; set aside. Put butter and sugar in the bowl of an electric mixer. Mix on medium-high speed until pale and fluffy, about 3 minutes. Add eggs, 1 at a time, mixing well. Add vanilla. Reduce speed to medium. Mix in 3 batches of flour mixture, alternating with 2 batches of milk. Raise speed to medium-high; mix until thoroughly blended, 10 to 20 seconds.

2. Spoon 1/4 cup batter into each muffin cup. Bake until a cake tester inserted into centers comes out clean, about 17 minutes. Let cool in tin on wire racks 10 minutes. Remove cupcakes from tin; let cool completely. Line tin with muffin cups; repeat process with remaining batter.


My Twist
1. Split up the batter in fourths and add different portions of food coloring,
{ I didn't make the middle two different enough so it only looks like thirds, but that is more than okay with me} I used creamy peach wilton color gel. If you don't use coloring gel, do. It's amazing.


2. Layer the batter one on top of another & bake. 

p.s. The pan is a nordic ware sweetheart rose pan. {25-30$} It's fun, get it. 


WAH-LAH!
ombre rose cupcakes. :) 


xo, rach


Saturday, April 28, 2012

DIY: Book Stack Necklace

 DIY: BOOK STACK NECKLACE

I first saw it via anthropolgie. Then I saw it all over the interweb and I couldn't help but try and make one myself.

*side note: i'm still not great at diy's, sometimes I add in extra materials, lose materials, and forget to photograph along the way so bear with me :)

Materials:
-An old disposable book
-Super glue
-Three different colors of leather
-A necklace chain
-A necklace clasp
-Craft pliers
-Push pins
-A pointy thingy..(the one with the red handle, i found it in my daddy's tool box!)
-Scissors
-Tape


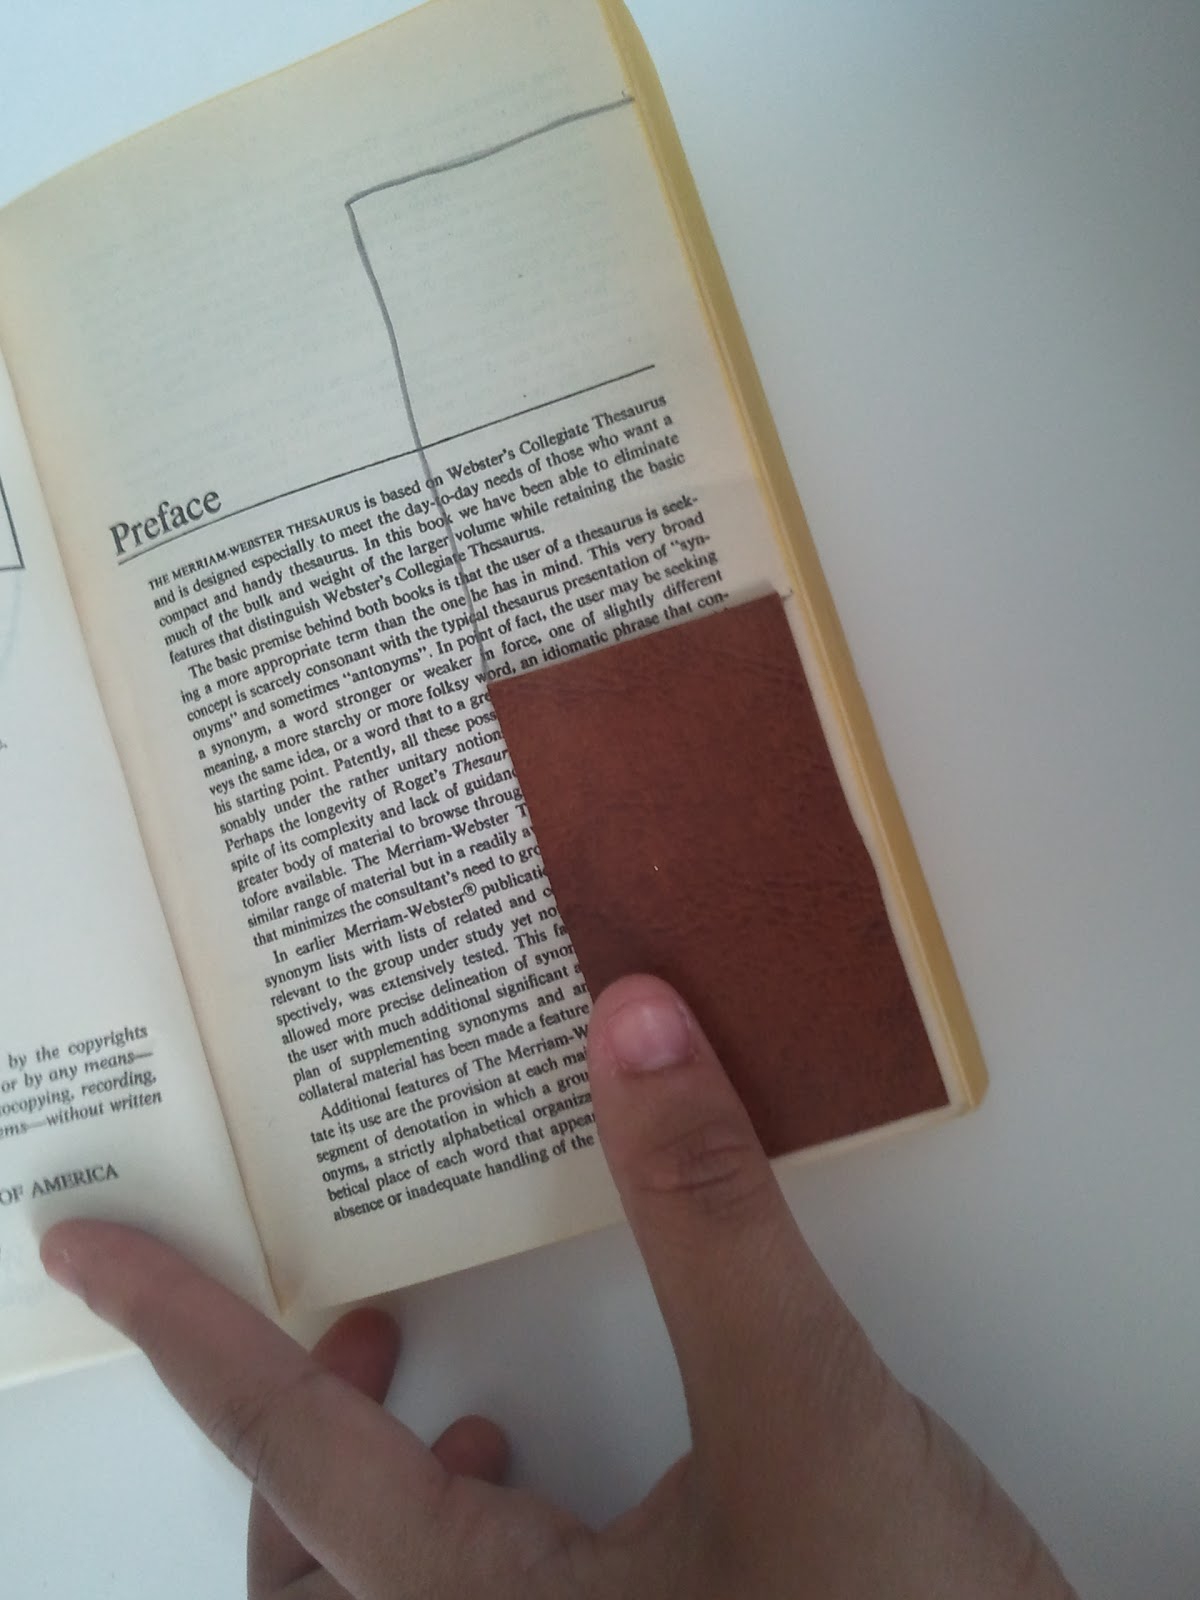
1. Cut your leather into rectangles (I used some leather cases for glasses I found at the D.I. at 75 cents each)

 If it has wierd fabric on a side, feel free to just pull it off :)

2. Measure your leather on the book pages and cut them out, then fold them in half. 


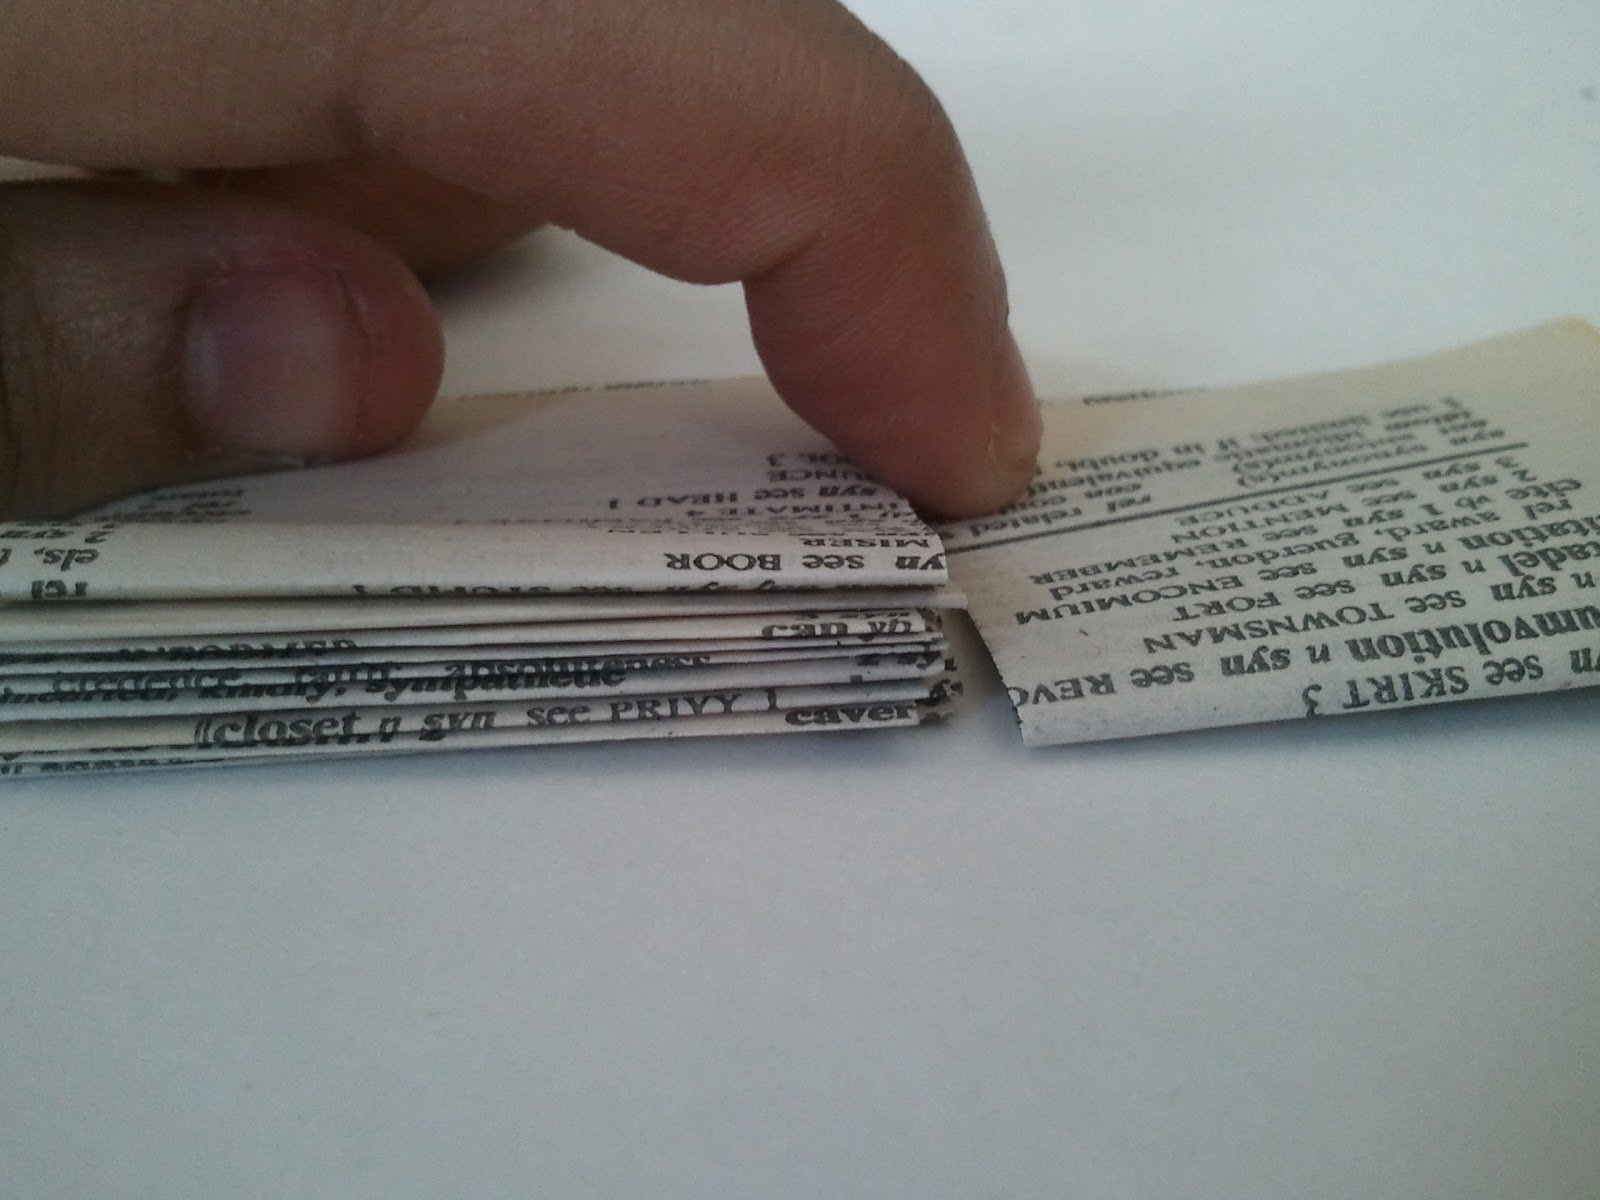
4. Layer your pages individually rather than one folded in another.


5. Bring all the pages to an even surface and then bind them with masking tape
(I used clear tape, and it doesn't stick to the super glue very well so i reccomend masking.)


 6. Put your super glue down on the leather and lay your pages on top and fold
( I also super glued some pages together, so it wasn't so open looking...)


 7. Let them dry underneath a heavy book, I used the host.  :)

 8. I left mine to sit for about 45 minutes, I then cut off the edges that were sticking out with scissors and an expo knife.

9. Poke through the leather and first couple of pages with a sharp pokey thing so your pin can have a place to start, then push the pin all the way through


10. This is where things get a bit crazy so bear with me. I bought some certain pin things to ultimitaley hold the books together, of course I couldn't find them anywhere. I used some extra earring hooks instead.
I simply flattened out a hook and guided it through the hole I made with the pin.
Sadly the hook was not long enough to go through all three books so I took my pliers and made my own loop from the bottom of the earring hook, and hooked it to the top of another earring hook...you got all that?


Then to hold it all in, i just bent the bottom of the second hook all crazy like. :)


11. In the midst of doing all that I attached my clasp and took of some of the chain off so it was the length that I wanted and then attached the books!
That step is as easy as prying open the chain links and closing them.
 AND DONE :) 
Don't mind my hair, I know its the craziest. 


 I hope you like, cause I sure do! I hope you got it all!

Related Posts Plugin for WordPress, Blogger...